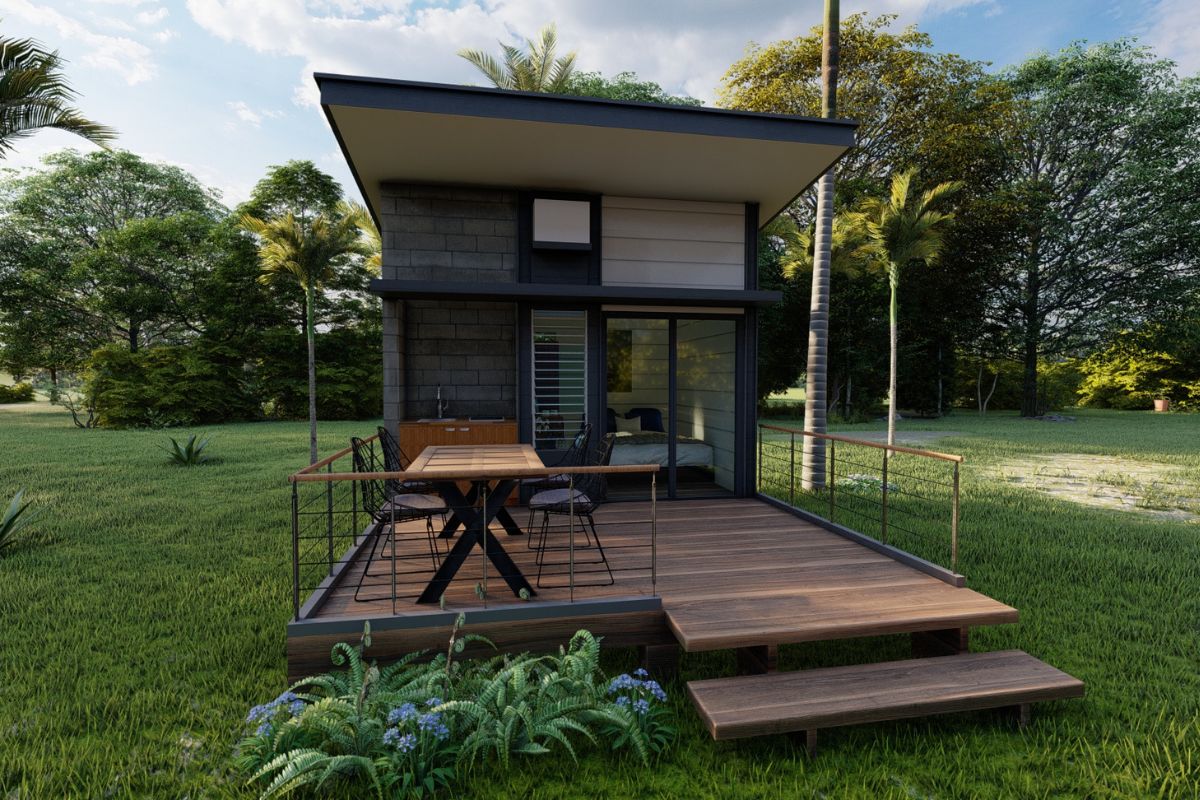
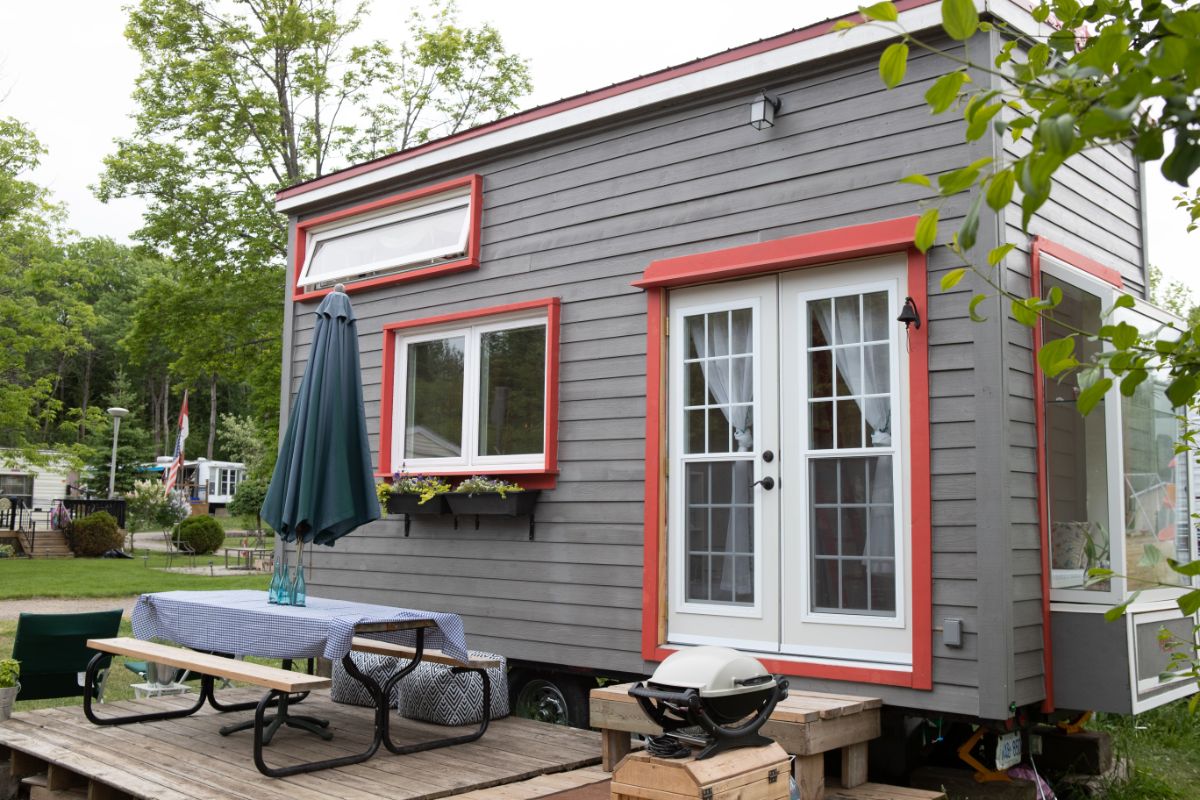
If you are considering building a tiny home you may wonder what is involved. We’re going to go through the stages of creating a tiny home, a full timeline to help you visualize what this build entails.

Design Your Tiny House
Before you do anything else you need to design your tiny house. First, think about your needs and incorporate them into the plan. You can use a computer program to do this or simply sketch it out on graph paper but be as accurate as possible.
If you have no construction experience keep the dimensions of your tiny house as simple to work with as possible. Ideally use sizes that are divisible by four feet as a lot of lumber and plywood comes in these lengths.
Planning
When planning your tiny house one of the most important things to consider is the placement of the doors and windows. It is also important to plan where the appliances are going to be so that all plumbing and electrical work can be accurately located.
For tiny homes in urban areas it may be necessary to submit your plans to a zoning board. So for this use a computer program to make your submitted plans look as professional as possible.
Pick A Location
Of course, you will need a suitable location for your tiny house. If you already have a location or plan to build on your own property this won’t be a problem. But some may need to buy or rent a site.
Bear in mind that you will need good access to the site, not just for building but for getting to and from your tiny home. Also choose a location that has good drainage.
Build The Foundation
A good foundation is vital for the rest of your build so getting this right is critical. Remember that it has to bear the weight, not just of the house but of all the furniture, appliances and the people who are going to be living there.
For ease and stability a concrete slab is potentially the best option. It will be level, stable and the tiny house can be built directly on top of it.
A solid foundation also avoids the potential problem of animals using the underneath of your tiny house for their own tiny home.
Alternatively you could use concrete piers or pillars if you want a quicker, DIY friendly approach.
Build The Floor
Getting the floor level is essential so take your time with the frame and floor joists. Check that the frame is square and level before adding floor joists. Use joist hangers or attach the joists directly to the frame, checking levels and spacing as you go.
Fitting the joists at 16 inch at center intervals will work well as you can fit 6 joists for every 8 feet of plywood or OSB sheathing. This means there is less cutting and waste.
Building The Walls
You can either build the walls on the floor or offsite and raise them when they are built. For a single story they will typically be 8 feet high. For a loft sleeping area they will need to be a bit higher.
After framing the walls, the sheathing is added. This may be external grade plywood or OSB and this is what you will then attach your siding to. Metal siding has become very popular and is easy to fit.
After sheathing the walls you will need to cut out the opening for your windows and doors.

Construct The Roof
When designing your tiny home you need to decide on the shape and slope of your roof. If you intend to use a water catchment system then bear this in mind when designing your roof.
Metal roof covering is the best option if you are going to collect rainwater.
Roof rafters of 2 x 6 are usually sufficient and sheathing should be ¾ inch plywood or OSB. Use whole sheets where possible and stagger them for extra strength.
Windows & Doors
When framing your walls you may want to build in the window and door openings rather than cutting them out later. For this you will need to have already bought the windows and doors so that the openings can be precisely built.
Buy the best windows you can afford to save on heating and cooling bills. Remember to caulk around the frames once installed.
Electricity & Water
All electrical and plumbing fixtures should be planned right at the beginning as they need to be fitted into the basic structure before being connected up.
It is also a good idea to have a qualified electrician fit all your electrics, as this is not really a task for a DIYer.
Decide on your power system and plumbing design early on to incorporate it into your plan.
Interior Walls, Insulation & Loft
There are many choices of insulation so choose the one most suitable for your location and build. Interior wall covering is down to personal choice, drywall, paneling or whatever finish you prefer.
If your tiny home is not mobile you aren’t constricted by height regulations and can add a loft space or even a second story to your tiny home. This is nice for a quiet space or private sleeping area.
Cabinetry & Stairs
The build of the interior will include any kitchen cabinets, storage, shelving and stairs if you incorporate a loft into your tiny home design. Think about what you will need in terms of living space and add what will make life a bit easier for you in a small space.
Final Thoughts
Designing and planning your tiny house should take time so that you end up with the home you want and that functions best for you.
The build should also be a slow and careful process to make sure everything is done well. We hope that this guide to the stages of creating a tiny home has been helpful for you.
- How To Drill Into Brick? - October 31, 2022
- How To Repair And Refinish Hardwood? - October 31, 2022
- Floetrol – What Is It? When To Use It: Complete Guide - October 31, 2022

