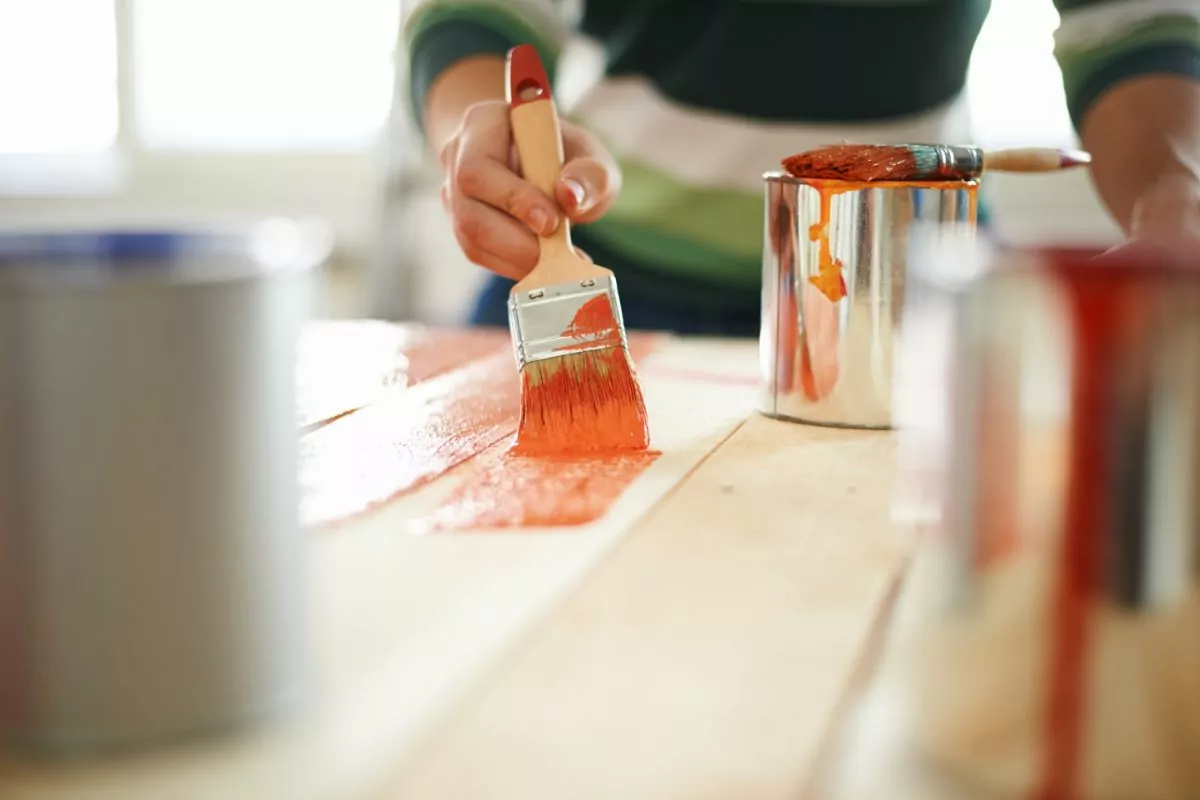
There are just so many DIY projects these days that use chalk paint. This is in large part due to the shabby-chic trend, which still remains popular to this day.

But once you’ve got your rustic distressed look, what do you do then? Should you seal it with wax to ensure it stays looking just the way you want it to? Or is there a better alternative?
That’s exactly what this article is going to address, laying out the various pros and cons of using wax finishes on chalk paint, so that you can decide for yourself whether that’s the route you want to go down.
And in case you decide you do want to go for a wax seal, you don’t have to go looking anywhere else for instructions on how to do it, because we’ve got it all here for you as an added bonus.
A Quick Note Before We Start
But before we get down to the nitty-gritty, let’s quickly go over the basics…
Once you’ve painted your DIY furniture project, and got all the coats of chalk paint you want on it, you must ensure that you give it plenty of time to dry before you even consider putting anything else on it.
(I’ve been giving a seal wax finish over my chalk paint projects for many years now, so I know what I’m talking about. Plus, I’ve also managed to pick up a few ticks and trips over the years, and I’ll share them all.)
Ideally, I’d recommend leaving the piece to dry overnight if at all possible, just to be sure.
And if you are thinking of giving the piece a wax coat, you must ensure that you use an appropriate brush, or you will not achieve the desired effect and the piece will be ruined.
And I don’t want that fate to befall you.
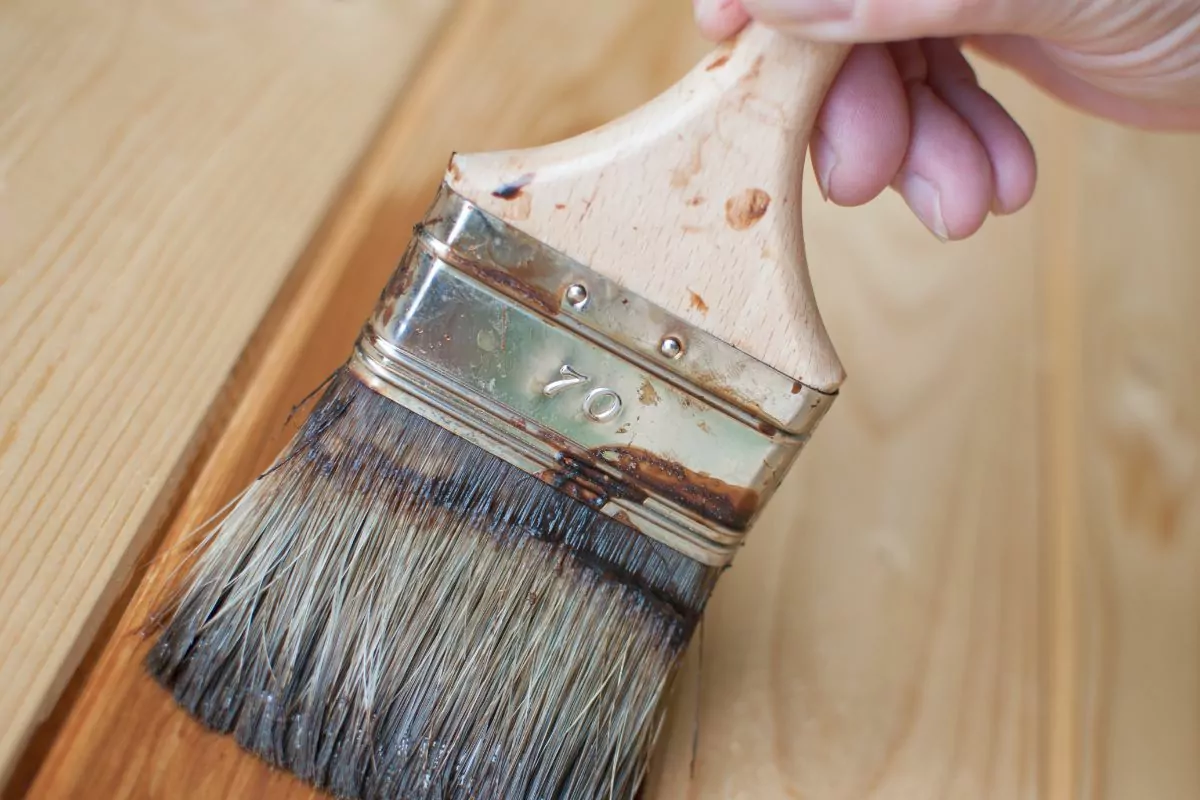
I would recommend that you use a natural bristle brush rather than your more typical synthetic brush.
Anyway, let’s get down to the details!
Wax Finish Benefits
Applying wax to your chalk painted project is fairly easy, and it’s quite quick to do, too. How you apply the wax depends on what brand of wax you buy.
Sometimes you can just rub it on and that’s it, and other times you will have to wipe off any excess.
It dries fast, and gives your piece a nice silky smooth finish that both looks great, feels great, and protects the paintwork from unwanted damage for years at a time.
It also enables you to get even more creative, especially when you’re using dark waxes or creams.
Wax Finish Downsides

The best results require a practiced hand. If you are new to such things, you may find it tricky. It is important that you know exactly what you’re doing before you start.
For example, by using the right sort of brush, as mentioned earlier.
If the material of the piece has had any wax or furniture polish put on it in the past, then you may find that it retains the shine, because it has a tendency to bleed through.
This bleeding through can be sneaky – sometimes it doesn’t show until you apply the topcoat, or even the wax.
And when it does, this could cause the finish to yellow, or in some cases leave it looking horribly streaky, depending on the color of the chalk paint.
And if you decide you’re not happy with the wax finish, this may mean that you’ll have to start all over again. (It just doesn’t get much more frustrating than that.)
The good news, however, is that this can be prevented. All you have to do in this scenario is prime the piece before you apply the chalk paint. And this is a step that’s worth carrying out.
The other downside to waxing your projects, especially if it’s in a high traffic room, is that you’re meant to reapply the wax on a regular basis about once a year.
(Sometimes you may be able to get away without doing it quite as often.)
And finally,
Tutorial: How To Seal Your Chalk Painted Project With Wax
Using Regular Wax
Applying a wax seal is easy, all you have to do is work the wax in, just a little at a time, with an appropriate brush (as discussed earlier), and wipe off the excess.
If you feel it’s not shiny enough right away, that’s not a problem because you can buff it up more later.
Using Annie Sloan Clear Wax
Whereas normally, you would have to create a distressed look before applying any wax, with Annie Sloan clear wax, you can do it the other way around, waxing first, then distressing.
And then you have to apply a final coat of wax.
Using Antiquing Wax
If you wish to use antiquing wax, I recommend applying a coat of clear wax on beforehand, since this gives you more control over how the antiquing wax goes on.
Wrap Up
A quick glance at the info above may have you thinking that there are more cons than pros when it comes to putting a wax finish on your chalk painted projects, however this is not the case, and much of what was written in the cons section were actually tips intended to solve potential problems.
I hope you now feel confident to go ahead and give your DIY projects the shine they deserve!
- How To Drill Into Brick? - October 31, 2022
- How To Repair And Refinish Hardwood? - October 31, 2022
- Floetrol – What Is It? When To Use It: Complete Guide - October 31, 2022

